
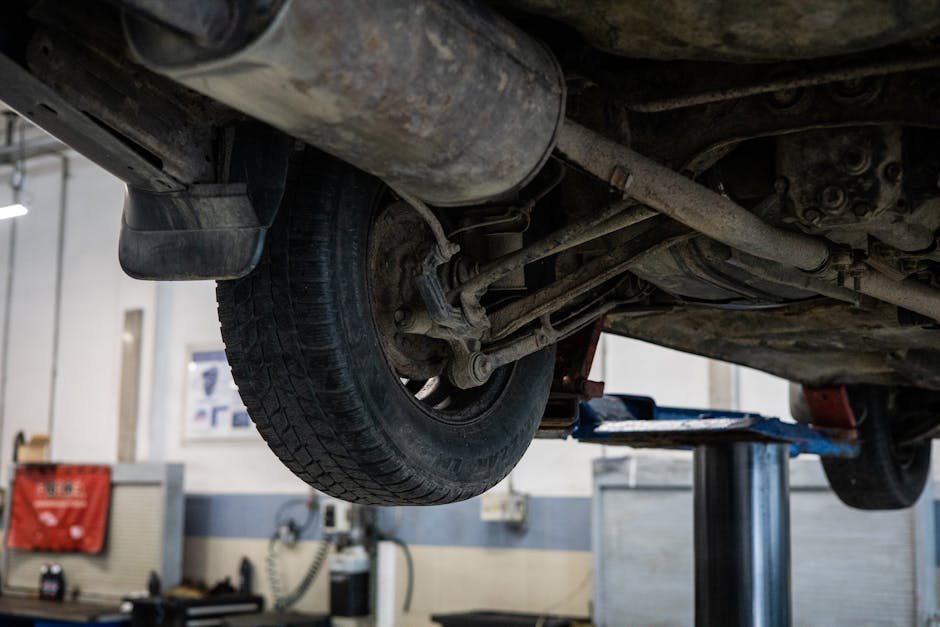
DIY Car Maintenance: A Beginner’s Guide to Keeping Your Ride Running Smoothly
1. Mastering the Basics: Fluid Checks – The Lifeblood of Your Car
The cornerstone of DIY car maintenance lies in understanding and regularly checking your vehicle’s vital fluids. These liquids are the lifeblood of your engine, transmission, and braking systems, ensuring they function efficiently and prevent costly damage.
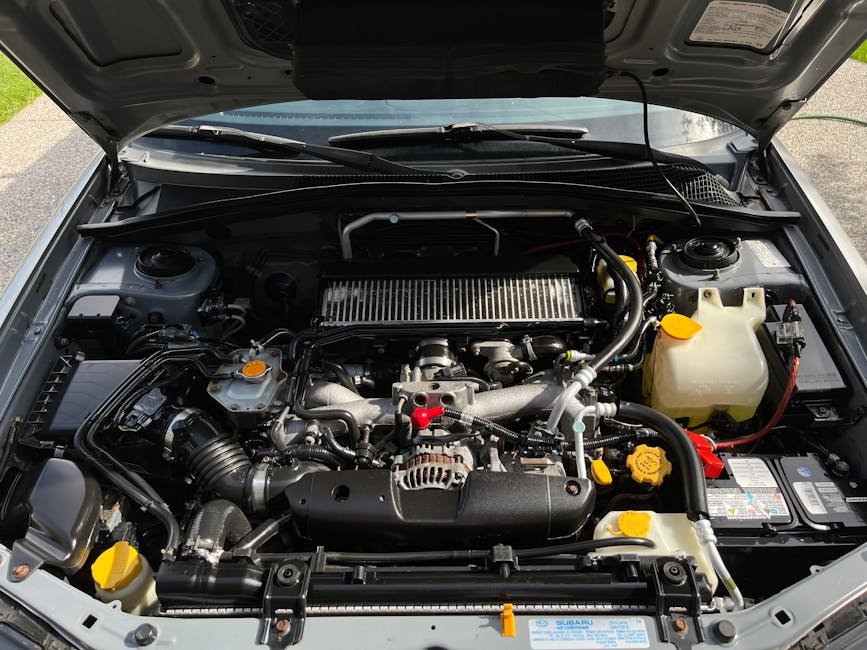
- Engine Oil: Oil lubricates the engine’s moving parts, reducing friction and dissipating heat. Locate the dipstick (usually marked with an oil can symbol), remove it, wipe it clean, reinsert it fully, and then withdraw it again. The oil level should fall between the “min” and “max” or “low” and “high” marks. The oil’s color is also important. Dark, sludgy oil indicates it needs changing. Refer to your owner’s manual for the recommended oil type and change interval (typically every 3,000-7,500 miles, depending on driving conditions and oil type).
- Coolant (Antifreeze): Coolant regulates engine temperature, preventing overheating in summer and freezing in winter. Locate the coolant reservoir (usually a translucent plastic container). The coolant level should be between the “min” and “max” marks. Never open the radiator cap when the engine is hot! Doing so can result in severe burns. Check the coolant’s condition for rust or debris. Coolant should be flushed and replaced every two to five years, depending on the type.
- Brake Fluid: Brake fluid transmits pressure from the brake pedal to the brake calipers. Locate the brake fluid reservoir (usually a clear or translucent container near the master cylinder). Check the fluid level; it should be near the “max” line. Brake fluid absorbs moisture over time, which can reduce its effectiveness and corrode brake components. A brake fluid flush is typically recommended every two years.
- Power Steering Fluid: Power steering fluid assists in turning the steering wheel. Locate the power steering fluid reservoir (usually near the power steering pump). Check the fluid level against the markings on the reservoir. Low fluid can cause whining noises and difficulty steering. Check for leaks if the fluid level is consistently low.
- Windshield Washer Fluid: While seemingly trivial, windshield washer fluid is essential for maintaining visibility. Fill the reservoir with a quality windshield washer fluid that is appropriate for your climate.
2. Tire Pressure: A Simple but Critical Maintenance Task
Maintaining proper tire pressure is crucial for fuel efficiency, tire longevity, and safety.
- Locate the Recommended Tire Pressure: The recommended tire pressure (measured in PSI – pounds per square inch) is typically found on a sticker inside the driver’s side doorjamb or in your owner’s manual. Do not use the maximum pressure listed on the tire sidewall; this is the tire’s maximum capacity, not the recommended pressure.
- Use a Tire Pressure Gauge: Purchase a reliable tire pressure gauge. Check the tire pressure when the tires are cold (before driving or after the car has been parked for several hours).
- Inflate or Deflate as Needed: Use an air compressor to inflate the tires to the recommended pressure. If the pressure is too high, use the gauge to release air until the correct pressure is reached.
- Check Regularly: Check tire pressure at least once a month and before long trips. Tire pressure fluctuates with temperature changes.
3. Tire Inspection: Looking Beyond the Pressure
Regularly inspecting your tires for wear and damage is essential for safety and preventing blowouts.
- Tread Depth: Use a tread depth gauge or the “penny test” to check tread depth. Insert a penny upside down into the tread groove. If you can see all of Lincoln’s head, the tread is worn below the minimum legal limit (2/32 of an inch) and the tire needs to be replaced.
- Uneven Wear: Look for uneven wear patterns, such as wear on the edges or in the center of the tire. Uneven wear can indicate alignment problems or improper inflation.
- Sidewall Damage: Inspect the sidewalls for cuts, bulges, or cracks. Sidewall damage can compromise the tire’s integrity and lead to a blowout.
- Embedded Objects: Remove any stones, nails, or other debris embedded in the tire tread.
- Rotation: Rotate your tires every 5,000-8,000 miles (or as recommended in your owner’s manual) to promote even wear.
4. Battery Care: Keeping the Power On
The car battery provides the electrical power to start the engine and run electrical accessories.
- Visual Inspection: Check the battery terminals for corrosion. Clean corrosion with a wire brush and a solution of baking soda and water.
- Terminal Tightness: Ensure the battery terminals are securely connected. Loose terminals can prevent the battery from charging properly.
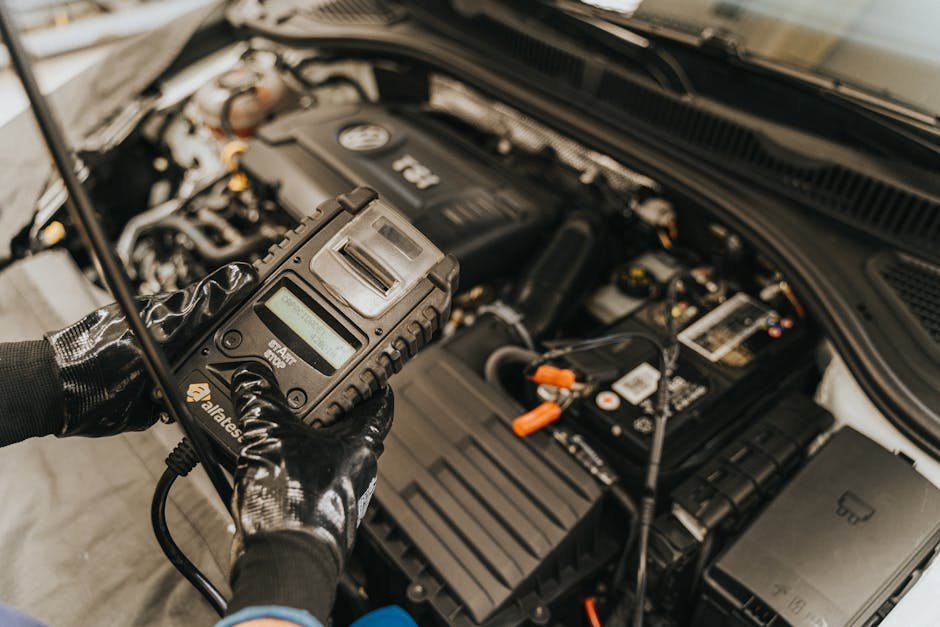
- Voltage Check: Use a voltmeter to check the battery voltage. A fully charged battery should read around 12.6 volts. A reading below 12.4 volts may indicate a weak battery.
- Jump Starting: Learn how to jump start your car safely. Always connect the jumper cables in the correct order and avoid touching the terminals.
- Professional Testing: Have your battery tested professionally every few years to assess its condition.
5. Wiper Blades: Maintaining Clear Visibility
Wiper blades are essential for safe driving in rain, snow, and other inclement weather.
- Inspection: Inspect the wiper blades for cracks, tears, or stiffness. If the blades leave streaks or smears on the windshield, they need to be replaced.
- Replacement: Replacing wiper blades is a simple DIY task. Purchase replacement blades that are the correct size for your vehicle. Remove the old blades and install the new ones, following the instructions on the package.
- Windshield Cleaning: Regularly clean your windshield to remove dirt and debris that can damage wiper blades.
- Wiper Fluid: Ensure the windshield washer fluid reservoir is full.
6. Air Filter: Breathe Easy, Drive Efficiently
The engine air filter prevents dirt and debris from entering the engine. A clean air filter improves fuel efficiency and engine performance.
- Location: Locate the air filter housing (usually a black plastic box).
- Inspection: Remove the air filter and inspect it for dirt and debris. If the filter is heavily soiled, it needs to be replaced.
- Replacement: Purchase a new air filter that is the correct size and type for your vehicle. Install the new filter, ensuring it is properly seated in the housing.
- Replacement Interval: Replace the air filter every 12,000-15,000 miles or as recommended in your owner’s manual.
7. Lights: Seeing and Being Seen
Properly functioning lights are essential for safety, especially at night and in adverse weather conditions.
- Exterior Lights: Check all exterior lights, including headlights, taillights, brake lights, turn signals, and parking lights.
- Replacement: Replacing burned-out bulbs is a simple DIY task. Consult your owner’s manual for the correct bulb type. Disconnect the electrical connector, remove the old bulb, and install the new one.
- Headlight Alignment: Ensure headlights are properly aligned. Misaligned headlights can reduce visibility and blind other drivers.
- Interior Lights: Check interior lights, including dome lights and map lights.
8. Understanding Basic Tools: Building Your DIY Arsenal
Having a basic set of tools is essential for performing DIY car maintenance.
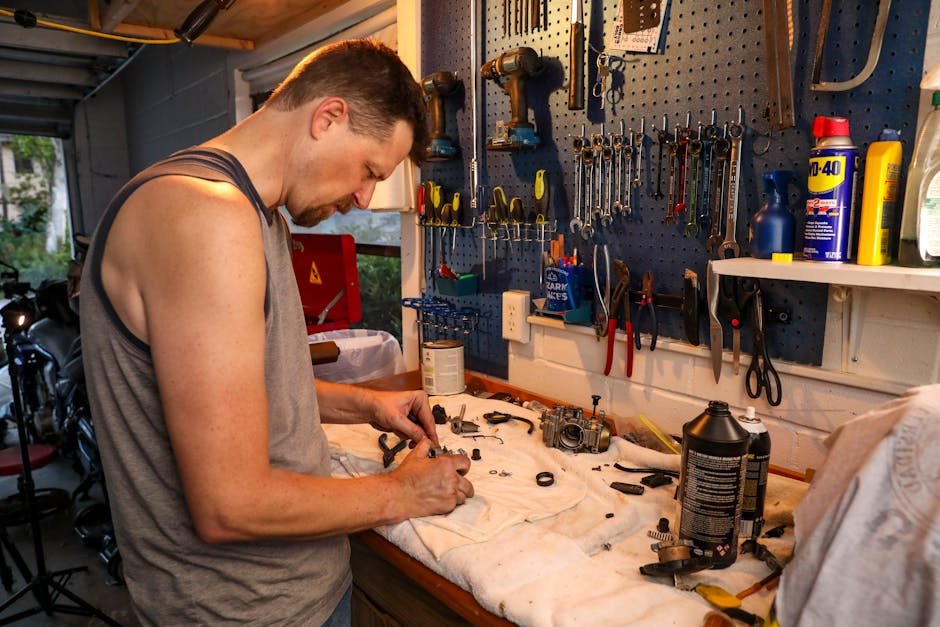
- Essential Tools: A basic toolkit should include:
- Socket set
- Wrench set
- Screwdrivers (Phillips and flathead)
- Pliers
- Tire pressure gauge
- Funnel
- Oil filter wrench
- Jack and jack stands
- Wheel chocks
- Safety Gear: Always wear safety glasses and gloves when working on your car.
- Tool Maintenance: Keep your tools clean and organized.
9. Consulting Your Owner’s Manual: Your Vehicle’s Bible
Your owner’s manual is an invaluable resource for DIY car maintenance.
- Maintenance Schedule: The owner’s manual provides a maintenance schedule that outlines the recommended service intervals for various components.
- Fluid Specifications: The manual specifies the correct types of fluids to use in your vehicle.
- Bulb Types: The manual lists the correct bulb types for all of your vehicle’s lights.
- Troubleshooting Tips: The manual may provide troubleshooting tips for common problems.
10. Prioritizing Safety: A Non-Negotiable Aspect of DIY
Safety should always be your top priority when performing DIY car maintenance.
- Stable Work Environment: Always work on a level surface. Use jack stands to support the vehicle after lifting it with a jack. Never work under a vehicle supported only by a jack.
- Disconnect the Battery: Disconnect the negative battery cable before working on electrical components.
- Proper Ventilation: Work in a well-ventilated area, especially when working with fluids or solvents.
- Protective Gear: Wear safety glasses and gloves.
- Read Instructions: Carefully read all instructions before performing any maintenance task.
- When in Doubt, Seek Professional Help: If you are unsure about any aspect of a maintenance task, consult a qualified mechanic. Don’t attempt repairs beyond your skill level.






Leave a Reply